

Building a deck isn’t just about creating more outdoor space—it’s a smart way to enhance your home’s curb appeal. A well-designed deck at the front or side of your house adds character, improves functionality, and can significantly increase property value. Whether you’re planning a small platform or a wraparound porch, this guide walks you through everything you need to know.
Why a Deck Improves Curb Appeal
A stylish, well-constructed deck offers visual balance and structure to your home’s exterior. It adds warmth, invites guests in, and creates a transitional space between indoors and outdoors. With added features like railings, planters, or lighting, a deck can make your house stand out in any neighborhood.
Step 1: Plan Your Deck with Curb Appeal in Mind
Before starting construction, consider these essential planning points:
-
Positioning: Front yard, side, or wraparound decks enhance the home’s entry area best.
-
Design Style: Match the deck’s materials and trim to your home’s exterior color and architecture.
-
Size & Shape: Keep proportions in balance. Oversized decks may overpower a small home.
-
Permits: Always check local building codes and obtain required permits.

Pro Tip: Add architectural elements like decorative posts, skirting, or a pergola to boost aesthetics.
Step 2: Gather Tools and Materials
A solid foundation starts with the right tools and supplies. Here’s what you’ll need:
| Tools | Materials |
|---|---|
| Circular saw | Pressure-treated lumber |
| Power drill | Concrete mix (for footings) |
| Level | Joist hangers and lag bolts |
| Measuring tape | Decking boards (wood or composite) |
| Safety gear (goggles, gloves) | Waterproof sealant or stain |
Choose composite decking or cedar for a more polished look that complements your home’s façade.
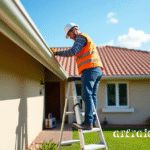
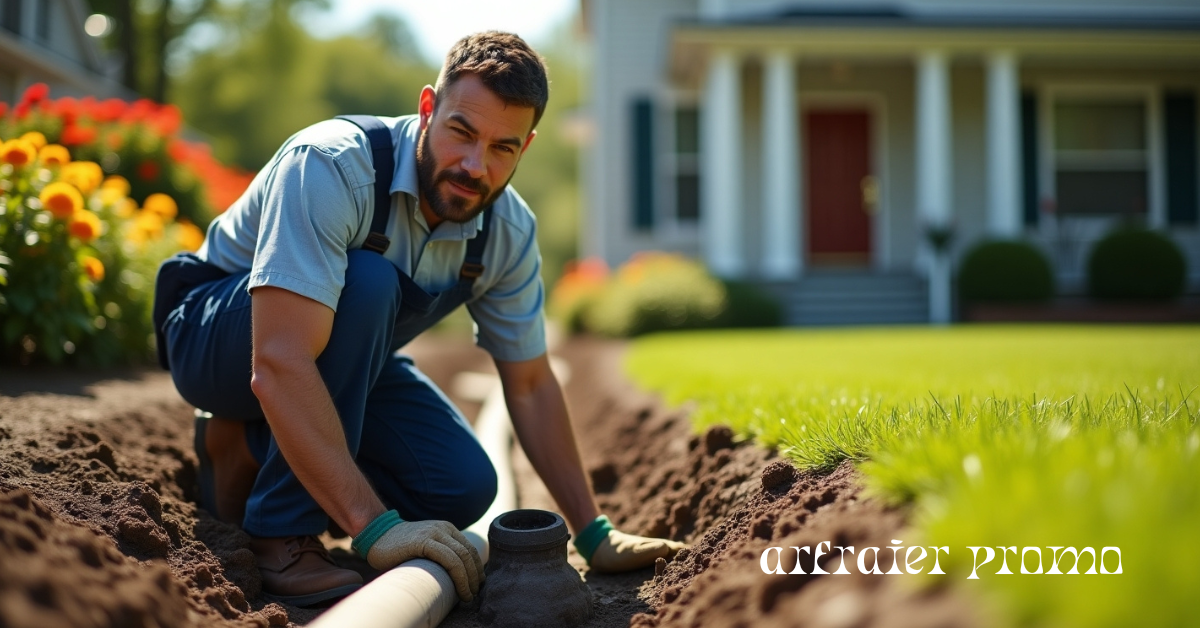
Step 3: Prepare the Site
-
Outline the Deck: Mark dimensions with stakes and string.
-
Clear the Area: Remove grass, rocks, and debris.
-
Level the Ground: Ensure a flat, stable base.
If you’re working with a sloped yard, you may need additional support posts or longer stair access.
Step 4: Build the Foundation
You can use concrete footings or deck blocks depending on your layout and local codes.
-
Concrete Footings: Dig holes below frost line, insert forms, pour concrete, and embed metal post anchors.
-
Deck Blocks: Best for ground-level decks. Make sure they’re spaced evenly and on level soil.
Sturdy posts are key—ensure they’re level and properly aligned before moving forward.
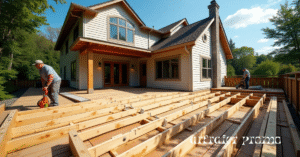
Step 5: Frame the Deck
-
Install Posts: Set posts vertically in the anchors.
-
Attach Beams: Use lag bolts to connect beams across posts.
-
Install Joists: Run joists perpendicular to beams and secure them with joist hangers.
-
Add Blocking: Prevent joists from twisting with cross supports.
This is the skeleton of your deck—accuracy here ensures a long-lasting and level structure.
Step 6: Lay the Decking Boards
-
Start from the Outer Edge: Align the first board square to the joists.
-
Maintain Gaps: Leave 1/8″ to 1/4″ between boards for drainage and expansion.
-
Secure the Boards: Use corrosion-resistant deck screws or hidden fasteners for a clean surface.
Trim the edges for a neat look, especially if the deck is highly visible from the street.
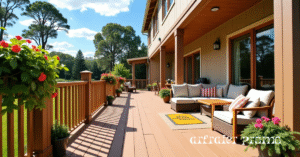
Step 7: Add Railings, Stairs, and Decorative Features
Here’s where you can really add curb appeal:
-
Stylish Railings: Choose wood, metal, or cable designs that match your home’s aesthetic.
-
Planters & Benches: Built-in elements improve both beauty and function.
-
Lighting: Solar or low-voltage deck lighting boosts visibility and charm at night.
-
Decorative Skirting: Close the gap below your deck with lattice, stone, or wood paneling.
Step 8: Stain, Seal, and Decorate
Finish your deck to protect it and make it shine:
-
Clean the Surface: Remove dust or dirt before finishing.
-
Apply Stain or Paint: Use weatherproof finishes that match or complement your home.
-
Seal for Protection: A water-resistant sealant ensures longevity.
Add outdoor furniture, cushions, or seasonal decor to complete the look.
Common Mistakes to Avoid
Avoid these pitfalls when building a curb-appeal-friendly deck:
-
Choosing mismatched materials or colors
-
Ignoring symmetry with windows and doors
-
Overbuilding in small front yards
-
Forgetting lighting or plants
-
Skipping permit approvals
If you’re looking for additional ways to enhance your home’s exterior alongside your new deck, explore these DIY curb appeal projects from Family Handyman for more inspiration.
Conclusion
A front or side deck is more than just a platform—it’s a statement. With the right design, quality materials, and thoughtful finishing touches, you can turn a simple outdoor addition into a stunning feature that elevates your home’s appearance. Plan carefully, follow each step, and your new deck will be a centerpiece of pride and curb appeal for years to come.
Frequently Asked Questions (FAQs)
What’s the best decking material for curb appeal?
Cedar, redwood, or composite materials look great and resist weather damage, helping your deck stay beautiful longer.
Can I build a deck without professional help?
Yes, many homeowners build their own decks with basic tools and DIY plans. Just follow your local building codes and take your time.
Do front yard decks need railings?
If your deck is more than 30 inches off the ground, railings are usually required by code. Even low decks can benefit from railings for style.
How much value does a deck add to a home?
On average, a deck can add up to 70-80% return on investment in terms of resale value.