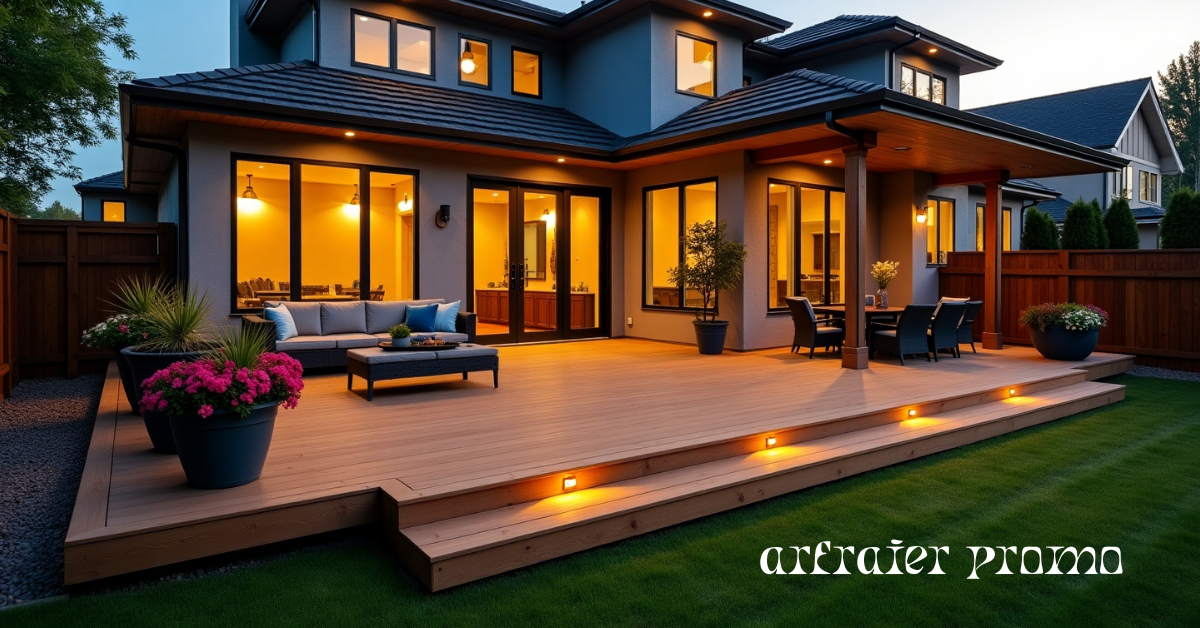


Imagine the scent of sizzling food in the air, laughter echoing through your backyard, and the joy of cooking outdoors with friends and family. That’s the magic of having your own outdoor kitchen — a space that brings people together.
Building one might seem overwhelming at first, but it’s completely doable with the right plan. Whether you’re working with a tight budget or aiming for a stylish, high-end setup, this guide walks you through every step — from planning and choosing materials to framing, building with concrete or wood, and adding personal touches.
Why Build an Outdoor Kitchen?
An outdoor kitchen is more than a cooking area — it’s an extension of your lifestyle. Here’s why many homeowners are investing in them:
-
Adds value to your home: Real estate experts estimate an outdoor kitchen can boost resale value by 10–15%.
-
Creates an entertainment hub: Perfect for BBQ parties, family dinners, and gatherings.
-
Keeps your home cooler: You can cook outside during hot days without heating your indoor kitchen.
-
Encourages outdoor living: Spending more time outside is great for health, mood, and family bonding.
Step-by-Step Guide to Build an Outdoor Kitchen
Step 1: Plan Your Outdoor Kitchen Design
Before you buy materials, start with a clear plan.
-
Pick the right location: Choose a flat, easily accessible area near your home. Consider wind direction, shade, and proximity to gas, water, and electricity.
-
Define your purpose: Will it be a simple grill station or a full setup with sink and refrigerator?
-
Sketch your layout: L-shape, U-shape, or straight-line designs are most common.
-
Plan your zones: Cooking, prepping, serving, and dining areas should flow naturally.
Layout Type |
Ideal For |
Description |
|---|---|---|
| L-Shape | Medium spaces | Functional and balanced |
| Straight Line | Small areas | Simple, space-saving |
| U-Shape | Large yards | Includes multiple appliances |
Pro tip: Start small. You can always expand later as your budget allows.

Step 2: Choose the Right Materials
Your outdoor kitchen will face weather, moisture, and heat — so materials matter.
-
Countertops: Granite, concrete, or ceramic tile are durable and easy to clean.
-
Cabinets: Stainless steel resists rust; polymer or treated wood adds warmth.
-
Flooring: Stone pavers, concrete slabs, or textured tiles prevent slips.
-
Cover/roof: A pergola or awning provides shade and comfort.
Always choose materials built for outdoor use. Regular indoor wood or laminate can warp and deteriorate quickly.
Step 3: Build a Strong Outdoor Kitchen Frame
The frame is the backbone of your kitchen — it holds your countertops, grill, and appliances securely.
Options for framing:
-
Metal studs: Lightweight, rust-resistant, and fireproof.
-
Wood framing: Works for rustic styles but must be pressure-treated.
-
Concrete blocks: Heavy-duty and weather-resistant for long-term use.
When building, ensure your frame is perfectly level and secure. Use L-brackets and screws for stability.
Step 4: How to Build an Outdoor Kitchen with Concrete Blocks
Concrete block kitchens are incredibly durable and affordable. Here’s a simple approach:
-
Mark your area: Use chalk lines or string to outline your structure.
-
Lay the foundation: Pour a concrete slab or use large patio pavers for stability.
-
Stack the blocks: Apply mortar or construction adhesive between each layer.
-
Add reinforcement: Insert rebar rods vertically for extra strength.
-
Finish the surface: Use stucco, stone veneer, or tiles to enhance appearance.
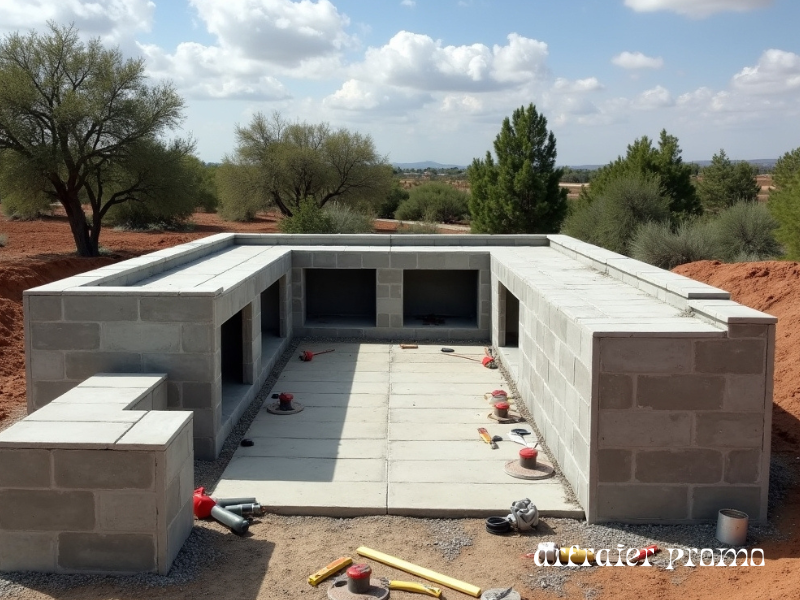
Concrete is fireproof, strong, and ideal for climates with temperature changes. Once sealed, it requires minimal maintenance.
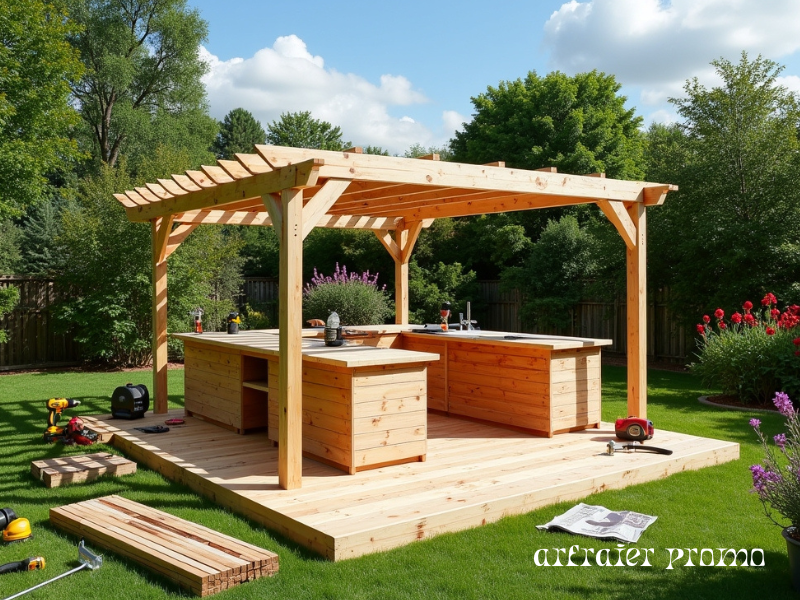
Step 5: How to Build an Outdoor Kitchen with Wood
If you prefer a natural, cozy look, wood is a great alternative.
-
Use pressure-treated lumber or cedar to prevent rot.
-
Build the frame using 2×4 or 2×6 boards.
-
Attach cement boards on the outer surface for fire resistance.
-
Seal and paint using weatherproof outdoor finishes.
Pro tip: Keep wood structures slightly elevated from the ground to avoid moisture buildup.
Material |
Pros |
Cons |
|---|---|---|
| Concrete | Long-lasting, fireproof | Heavy and labor-intensive |
| Wood | Warm appearance, easy to shape | Needs maintenance, can warp |
Both materials work beautifully — your choice depends on style, budget, and skill level.
Step 6: Install Utilities and Appliances
This step gives life to your outdoor kitchen.
-
Electrical wiring: Needed for lighting, refrigerators, and outlets.
-
Plumbing: For sinks or outdoor dishwashers.
-
Gas lines: For built-in grills or burners.
⚠️ Safety Tip: Always hire licensed professionals for gas and electric installations. Check your local building codes before starting.
Once utilities are ready, install your appliances — grill, fridge, sink, or pizza oven — making sure each fits neatly in its designated space.
Step 7: Add Finishing Touches
Now comes the fun part — styling your new outdoor kitchen.
-
Lighting: Add LED strips, lanterns, or string lights.
-
Furniture: Choose weatherproof chairs and tables.
-
Decor: Include planters, rugs, or stone accents.
-
Shade: Use umbrellas, pergolas, or retractable awnings.
Your outdoor kitchen should reflect your personality — modern, rustic, coastal, or family-friendly.
Step 8: Maintenance Tips
To keep your outdoor kitchen looking new:
-
Clean counters and grills after every use.
-
Cover appliances during off-seasons.
-
Reseal stone or wood surfaces annually.
-
Check for leaks, rust, or damage after heavy rain.
Regular upkeep prevents costly repairs and extends your kitchen’s lifespan.
Estimated Cost to Build an Outdoor Kitchen
Component |
Average Cost |
Description |
|---|---|---|
| Grill | $500 – $2,000 | Built-in or freestanding |
| Countertops | $1,000 – $3,000 | Granite, tile, or concrete |
| Cabinets | $800 – $2,500 | Stainless steel or wood |
| Flooring | $1,000 – $4,000 | Stone or concrete pavers |
| Utilities | $500 – $2,000 | Gas, water, or electrical setup |
Outdoor Kitchen for Kids
If you have children, you can make the space more engaging for them too.
Create a mini outdoor kitchen play zone using recycled wood or plastic.
-
Use toy utensils, water play tubs, or mini sand “cooking” areas.
-
Keep it safe — separate from grills or heat sources.
-
Add colorful touches to make it fun and educational.
This way, your kids can “cook” alongside you while staying safe and entertained.
Conclusion
Building an outdoor kitchen isn’t just about cooking — it’s about creating memories. Whether you go for the strength of concrete blocks, the warmth of wood, or a simple frame with a grill, every design can transform your backyard into a space for connection and comfort. With planning, effort, and creativity, you’ll soon enjoy outdoor meals that taste even better under the open sky.
Frequently Asked Questions (FAQs)
1. How much does it cost to build an outdoor kitchen?
A DIY outdoor kitchen can cost between $2,000 and $10,000, depending on materials and appliances.
2. Can I build an outdoor kitchen myself?
Yes. With basic tools and patience, you can build one yourself — just hire professionals for gas or electric work.
3. What’s better — wood or concrete?
Concrete is more durable, while wood offers a warmer, natural aesthetic. Both can last for years if maintained properly.
4. Do I need a permit for an outdoor kitchen?
Most areas require a permit for electrical or gas installations. Check with your local building authority first.
5. How do I make an outdoor kitchen safe for kids?
Keep grills and heat sources out of reach, and create a separate play area for them.
6. How long does it take to build?
Depending on design complexity, it can take anywhere from one weekend to a few weeks.