


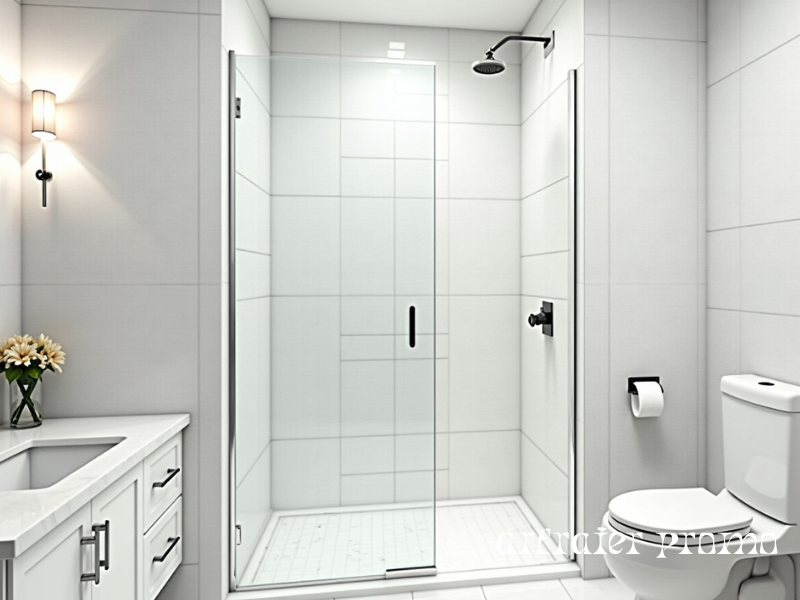
When it comes to bathroom remodeling, the shower wall design makes one of the biggest style statements. In recent years, the vertical tile shower has gained popularity among homeowners and designers who want a modern, spacious look. Unlike the traditional horizontal layout, vertical tiles draw the eye upward, creating the illusion of taller walls and a more open shower.
This guide will walk you through vertical tile shower ideas, design trends, costs, pros and cons, installation tips, and a buyer’s guide so you can confidently choose the right style for your bathroom.
Vertical Tile Shower Ideas
Here are some inspiring ways to design your shower using vertical tiles:
1. Classic Subway Tiles in Vertical Layout
Subway tiles are timeless, but when arranged vertically, they instantly give a fresh, modern twist. The vertical stacking makes the shower feel taller and sleek without losing the charm of subway tiles.
2. Vertical Tile Shower 12×24
Large-format 12×24 tiles installed vertically are a popular choice for contemporary bathrooms. They minimize grout lines, give a clean and elongated appearance, and are easier to maintain than small tiles.
3. Mixed Vertical and Horizontal Layouts
A creative option is to combine both directions—using vertical tiles on the main shower wall and horizontal on the sides. This adds depth and dimension, giving your shower a designer feel.
4. Accent Wall with Vertical Tiles
If you don’t want a fully vertical layout, consider using vertical tiles on one accent wall behind the showerhead. This focal point draws attention and makes the bathroom feel more luxurious.
5. Vertical Mosaic Tiles
Mosaics arranged vertically, whether in glass, stone, or ceramic, add personality and texture. They are ideal for shower niches or to highlight specific sections of the shower.
6. Marble-Look Vertical Tiles
For a touch of elegance, marble-effect porcelain tiles placed vertically create a spa-like atmosphere. The veining patterns flowing upward emphasize height and luxury.
7. Affordable Vertical Tile Shower Options
Budget-conscious homeowners can choose ceramic tiles in vertical layouts. They’re cost-effective, durable, and available in plenty of styles to mimic stone or marble without the high price.
Are Vertical Shower Tiles Trendy?
Yes, vertical tiles are one of the biggest bathroom design trends in 2025. They offer a sleek and contemporary look compared to the more traditional horizontal tile. Designers favor vertical installations for modern homes, small bathrooms, and minimalist aesthetics.
Does Vertical Tile Make a Shower Look Bigger?
Absolutely. Vertical tiles create an upward visual flow, making ceilings appear higher and spaces larger. This is particularly effective in compact bathrooms or low-ceiling homes. However, if you want your shower to feel wider, horizontal layouts may be better.
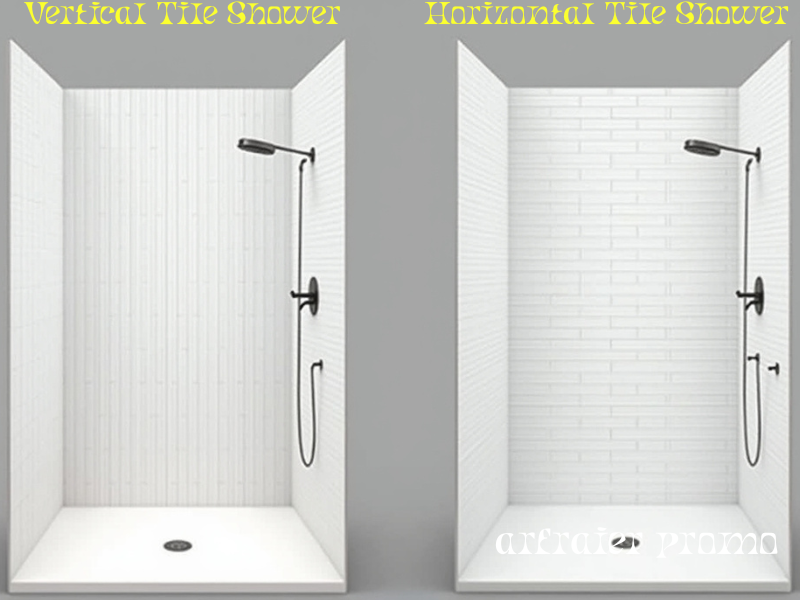
Vertical Tile Shower vs. Horizontal
Should you go vertical or stick with horizontal? Here’s a quick comparison:
| Feature | Vertical Tile Shower | Horizontal Tile Shower |
|---|---|---|
| Style | Modern, trendy, sleek | Classic, timeless |
| Effect | Makes shower look taller | Makes shower look wider |
| Best For | Small or narrow bathrooms | Large or wide bathrooms |
| Design Appeal | Minimalist, bold | Traditional, cozy |
Best Vertical Tile Shower Designs
Some of the most recommended styles for vertical showers include:
-
Porcelain 12×24 vertical tiles – modern, low-maintenance.
-
Marble-look vertical tiles – luxury appeal.
-
Glass vertical mosaic – vibrant and stylish for feature walls.
-
Subway tiles stacked vertically – classic yet modern twist.
-
Textured ceramic vertical tiles – add dimension and depth.
Each design can be tailored to your budget, whether you want an upscale spa look or a practical family bathroom.
Advantages and Disadvantages of Choosing a Vertical Tile Shower
Advantages
-
Makes ceilings look higher.
-
Perfect for small bathrooms.
-
Stylish and modern.
-
Wide variety of tile materials available.
Disadvantages
-
Can emphasize uneven ceilings.
-
Labor-intensive compared to horizontal layouts.
-
Some tile sizes may require more cutting, increasing costs.
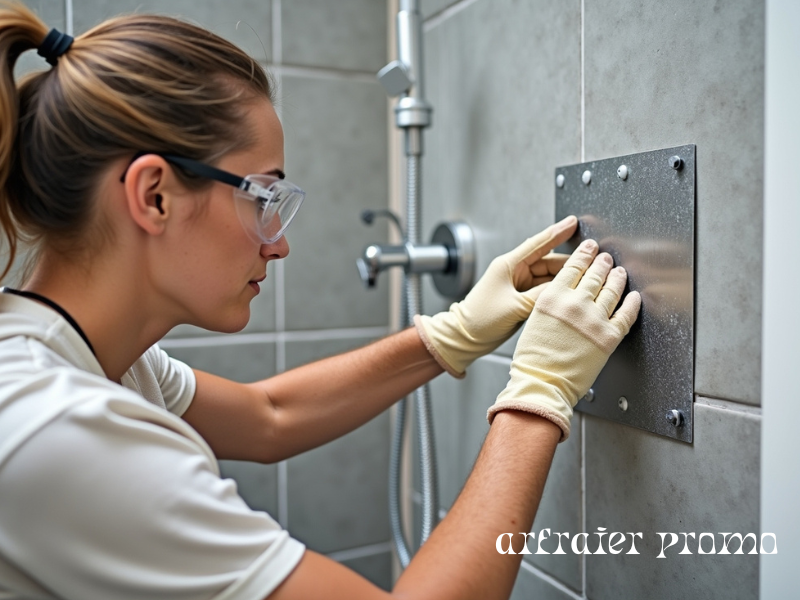
How to Install a Vertical Tile Shower: Step-by-Step Guide
Installing a vertical tile shower requires planning, precision, and patience. While many homeowners prefer hiring professionals, with the right tools and guidance, it can be a rewarding DIY project. Below is a step-by-step guide explained in detail:
Step 1: Prepare the Shower Wall
-
Begin by removing any old tiles, drywall, or fixtures.
-
Install cement backer board (not regular drywall) since it’s water-resistant. Secure it with screws.
-
Apply a waterproofing membrane or liquid sealant over the backer board to protect against moisture. This is crucial to avoid mold and water damage.
Step 2: Plan and Measure the Layout
-
Measure the wall height and width.
-
Decide where your first tile row will start. For vertical layouts, it’s best to center the tiles so the edges have equal cut sizes.
-
Use a chalk line or level to mark guidelines on the wall to keep tiles straight.
Step 3: Gather Materials and Mix Mortar
-
You’ll need: tiles, thin-set mortar, spacers, notched trowel, level, tile cutter, grout, and sealant.
-
Mix the thin-set mortar according to package instructions until it has a peanut-butter-like consistency.
Step 4: Apply Thin-Set Mortar
-
Using a notched trowel, spread the mortar on a small section of the wall (about 2–3 square feet at a time).
-
Hold the trowel at a 45-degree angle so ridges form in the mortar—this helps tiles adhere better.
Step 5: Install the Tiles Vertically
-
Press the first tile firmly into the mortar, starting from the bottom center of the wall.
-
Place tile spacers between each tile to keep grout lines even.
-
Continue upward, stacking tiles vertically.
-
Use a level frequently to ensure tiles are perfectly straight—vertical layouts show imperfections more than horizontal ones.
Step 6: Cut Edge and Corner Tiles
-
When you reach edges or around fixtures, measure carefully and cut tiles with a wet saw or tile cutter.
-
Smooth sharp edges with a tile file.
-
Place cut tiles in those tricky spots for a clean finish.
Step 7: Allow Mortar to Set
-
Let the tiles sit for at least 24 hours so the mortar fully bonds before grouting.
Step 8: Grout the Tiles
-
Mix grout and apply it using a rubber float at a 45-degree angle, pressing it into the gaps.
-
Wipe off excess grout with a damp sponge, rinsing frequently.
-
Let grout cure for 24 hours.
Step 9: Seal and Finish
-
Once grout is dry, apply a grout sealer to prevent water absorption and staining.
-
Reinstall fixtures (showerhead, shelves, etc.) and give the tiles a final clean.
Costs of a Vertical Tile Shower
The cost depends on tile type, shower size, and labor. Here’s a breakdown:
| Item | Average Cost (per sq ft) |
|---|---|
| Ceramic Tiles | $2 – $5 |
| Porcelain Tiles | $4 – $10 |
| Natural Stone/Marble | $10 – $25 |
| Labor | $7 – $20 |
Total cost for a vertical tile shower: $1,000 – $5,000 on average.
Affordable options include ceramic and porcelain, while marble and stone are premium choices.
Expert Tips for Vertical Tile Showers
-
Use light-colored tiles in vertical layouts to make small bathrooms appear larger.
-
Opt for 12×24 vertical tiles for fewer grout lines and a sleek finish.
-
Always use a quality grout sealer to prevent mold and discoloration.
-
Combine vertical layouts with strategic lighting for a spa-like effect.
Buyer’s Guide: Where to Find Vertical Shower Tiles
When shopping for tiles, check for durability, slip resistance, and maintenance needs.
-
Home Depot / Lowe’s – Affordable ceramic and porcelain tiles.
-
Wayfair – Trendy styles and online-exclusive collections.
-
Local Tile Shops – Custom designs and premium stone options.
-
Specialty Online Retailers – Wide range of glass, mosaic, and luxury tiles.
Conclusion
A vertical tile shower is not only a design trend but also a practical way to make your bathroom feel larger, brighter, and more stylish. From budget-friendly ceramic to luxury marble, there are endless ways to use vertical tiles in your shower.
Whether you want a sleek 12×24 porcelain look, a bold mosaic accent wall, or a timeless subway design, vertical layouts offer flexibility for every style and budget. By understanding the costs, installation process, and pros and cons, you can make a confident choice that enhances your bathroom’s beauty and functionality.
Frequently Asked Questions (FAQs)
1) What size tile works best for a vertical shower layout?
Large-format tiles like 12×24 are the most popular choice because they create fewer grout lines and make the shower look taller. Smaller tiles are still useful for accents and niches.
2) Do vertical tiles make a shower look bigger or smaller?
Vertical tiles make a shower appear taller by drawing the eye upward, which is perfect for compact bathrooms. However, if you want a wider look, horizontal tiles may be better.
3) Is a vertical tile layout harder to install than horizontal?
Yes, slightly. Vertical layouts reveal crooked lines more easily, so precise leveling and consistent spacing are crucial. Many DIYers use tile leveling clips to avoid lippage.
4) How much does a vertical tile shower cost on average?
Most projects range between $1,000–$5,000. Costs depend on the material—ceramic is budget-friendly, porcelain mid-range, and marble or stone more expensive—plus labor charges.
5) Can I mix vertical and horizontal tiles in one shower?
Yes. A popular option is using vertical tiles on the main wall for height and horizontal tiles on the sides for width, or adding a horizontal mosaic band for contrast.